
Reusable Washable Homemade Maxi Pad Sewing Instructions
- Assemble your fabric. You’ll need: fleece, flannel, and waterproof PUL diaper cover material.
- Cut your fabric. You’ll need two different sizes – the square body of the pad, and the rectangles for absorbency. Rotary cutters are great for this, but fabric scissors work too.
- 6 ½ x 6 ½ inch squares
- 3 x 9 inch rectangles
- Layer your squares- Fleece on bottom, flannel on top. Turn it so it looks like a diamond, with points on top and bottom.
- Now layer your rectangles from one point of the square to the bottom. (There will be overlap.) Start with the waterproof rectangle, patterned side down. Add the fleece rectangle, and then lay the flannel rectangle on top.
- If you’re a pinner, pin the rectangles to the squares. If you are prone to mishap, (me) skip this step.
- Round the top and bottom of the diamond with a fabric scissors or rotary cutter. This is optional, but does makes the pad fit nicely in the underwear.
- Fire up your sewing machine. Keeping all layers together, start with a zig zag stitch and work your way around the inner rectangle. Once you’ve done that, zig zag around the edges. Now do it again, around both the inner and outer pad, to reinforce the stitching.
- With a scissors, trim any excess outside of the zig zag stitching.
- Time for snaps! Lay out your four snap pieces: Two that look like tacks, and two that snap into one another.
- Using a snapper tool set, poke a hole ¼ of an inch inside the zig zag edge of the square pad on both sides. Place one snap with the closure side down, and the other side with the closure side up. (When the wings are folded beneath the underwear, the snaps should click into one another.)
- Press the snaps into place. The smooth side of the snap goes on the bottom of the snapper, followed by the fabric, then the top side of the snap. Squeeze strongly to secure snap. Repeat on the other side.
Or, if you’re a learn by pictures sort of person, here you go!

Start by laying out the pieces

Layer the fabric: fleece bottom square, flannel top. Then PUL rectangle (patterned side down), fleece rectangle, flannel rectangle

Put them together, pin if desired.

Trim the rounded edges
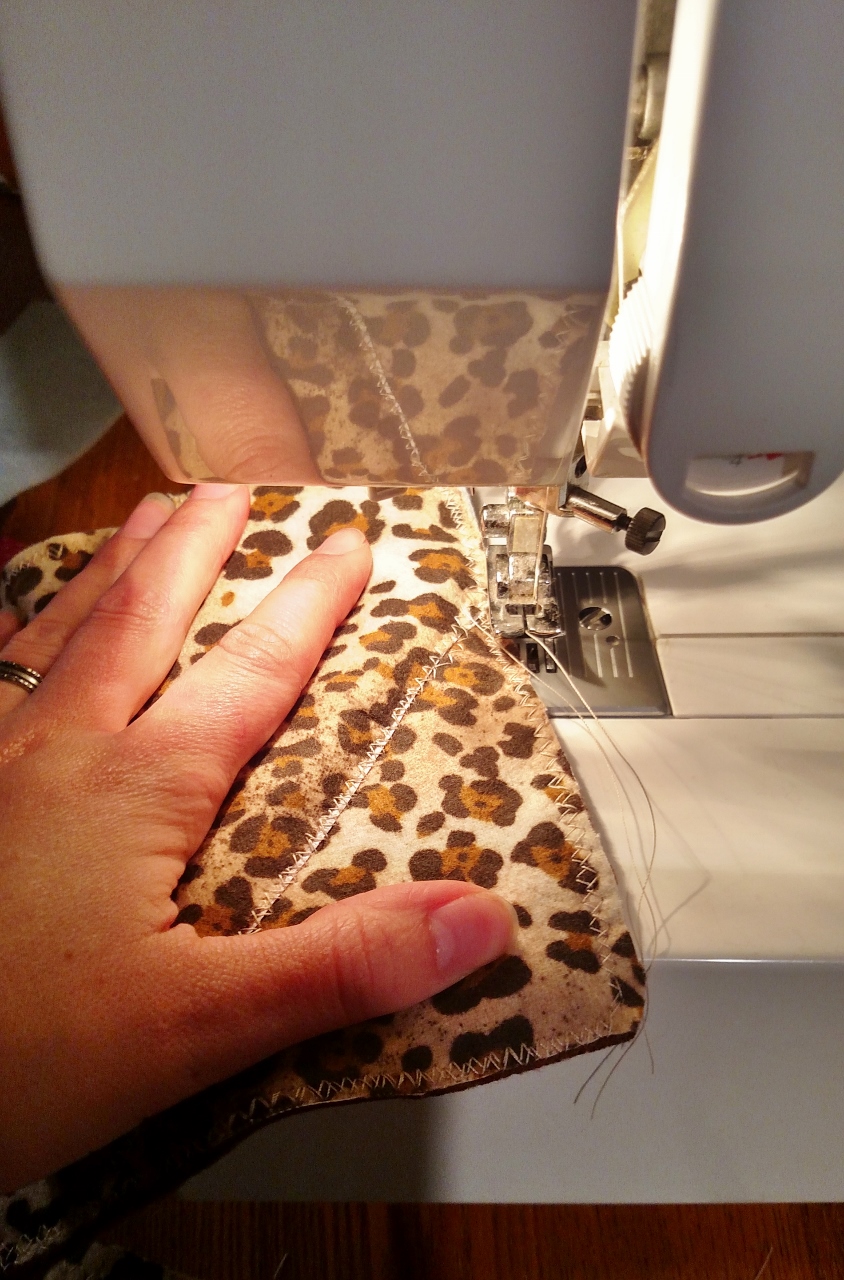
Start sewing! Zig zag around the inner pad first, then the outer.

Using your hole punch tool, poke a snap guide hole 1/4 -1/2 an inch from the stitching.

Punch your snaps. On the right side, face the smooth side up. On the left side, face the smooth side down. Match with coordinating snaps.

SQUEEZE! (smooth side goes on the bottom)
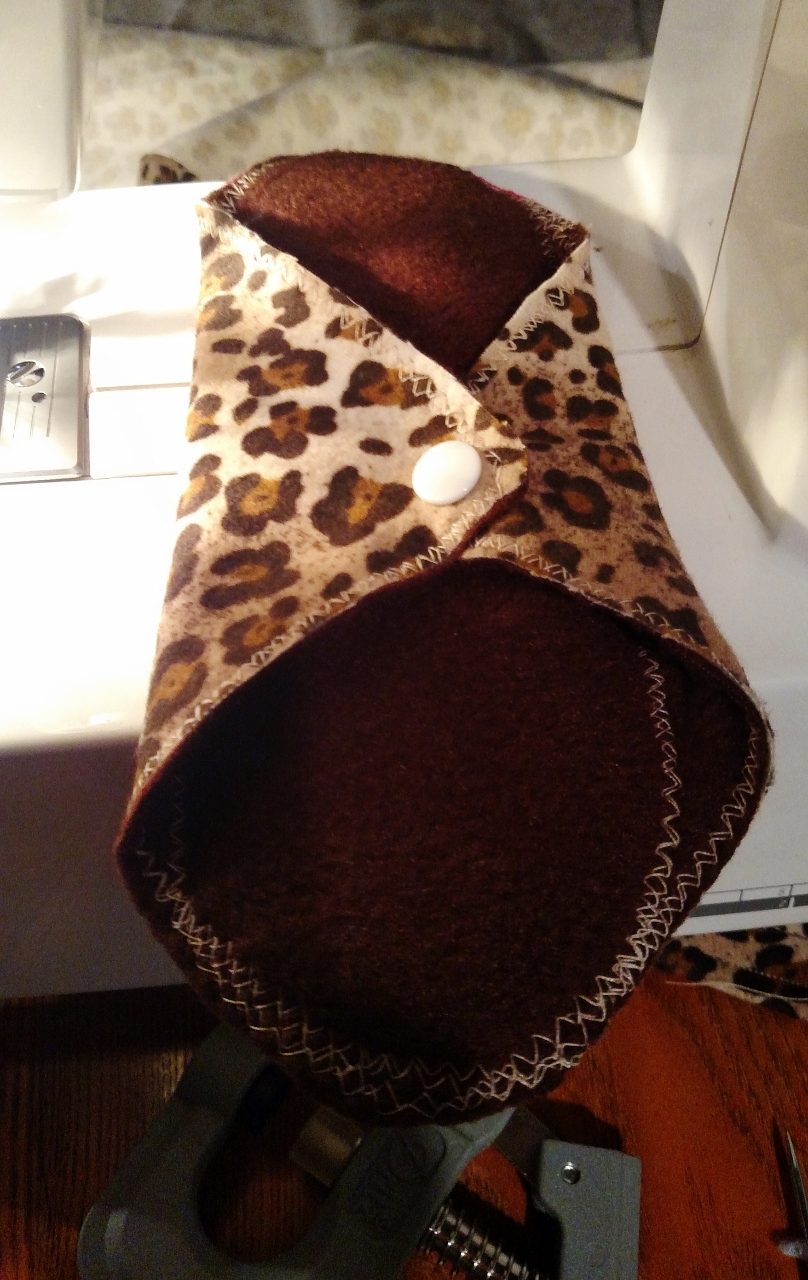
Snap it up! This is the underside of the pad that wraps around the underwear.
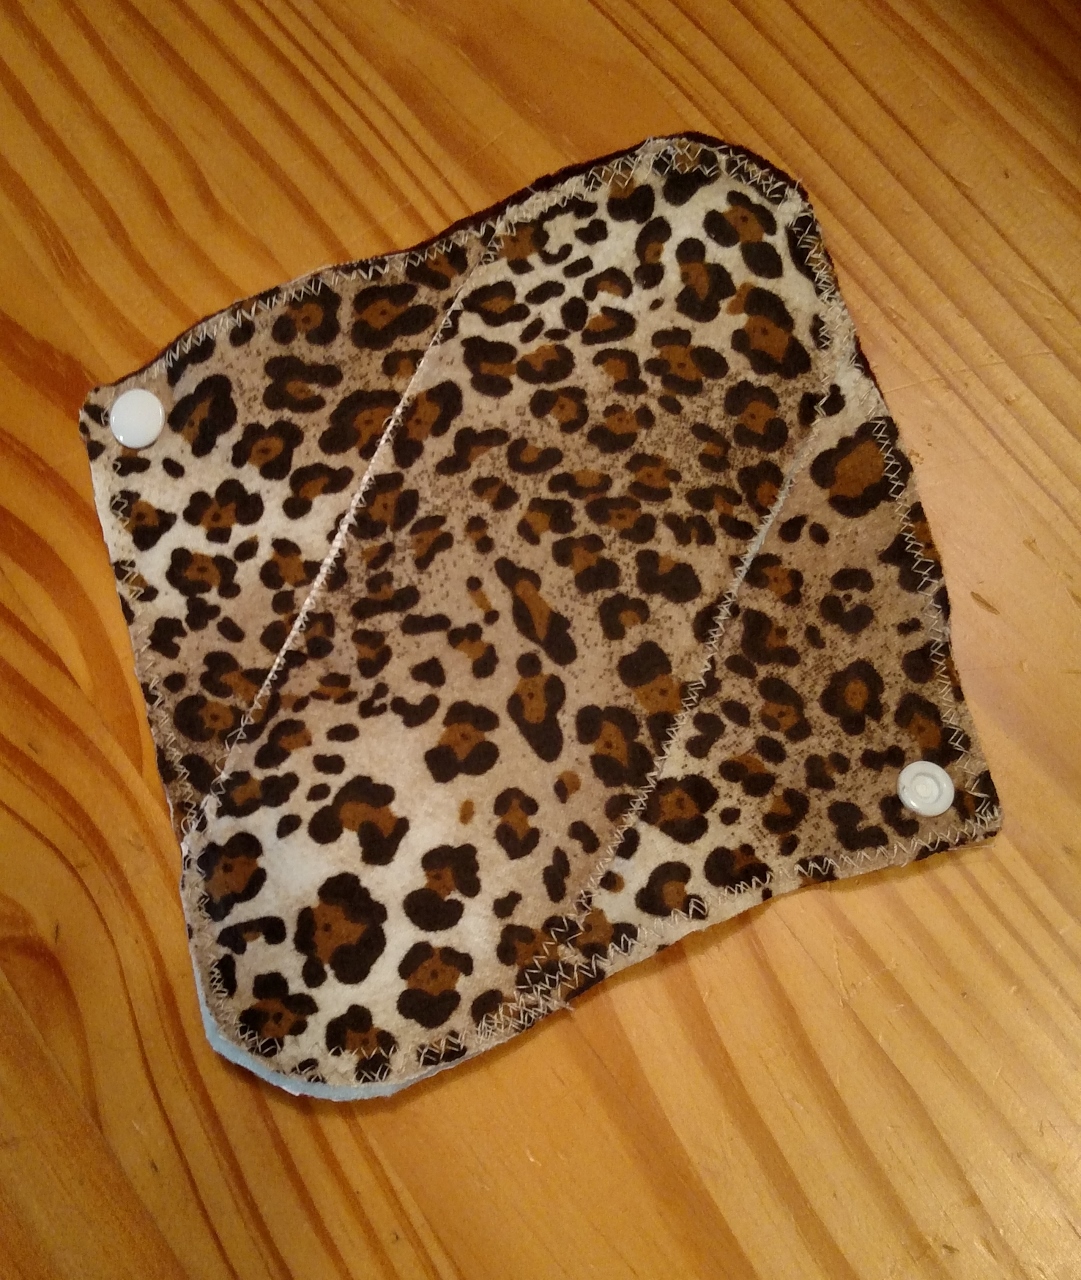
Finished product! This particular effort isn’t perfect, but it’s a heck of a lot better than the alternative.
2. Layer it up: fleece square, flannel square, PUL rectangle, fleece rectangle, flannel rectangle.
